Top 5 tips to Extend Your Oil Sprayer's Lifespan in 2025
Top 5 Tips to Extend Your Oil Sprayer’s Lifespan in 2025
Oil sprayers have become essential tools for health-conscious cooks, air fryer enthusiasts, and anyone looking to reduce kitchen waste. But let’s face it—nothing’s worse than a clogged nozzle, a leaky bottle, or an oil sprayer that stops working after a few uses. To keep your kitchen oil container staple performing like new, here are five practical, science-backed tips to maximize its lifespan.

Yarramate Multifunctional Oil Sprayer
1. How Can Proper Storage Double Your Oil Sprayer’s Lifespan?
Storing your oil sprayer correctly is the first step to ensuring it lasts for years. Exposure to heat, light, and air can degrade both the oil inside and the sprayer’s components. For example, UV light accelerates oil oxidation, leading to rancidity and clogged nozzles.
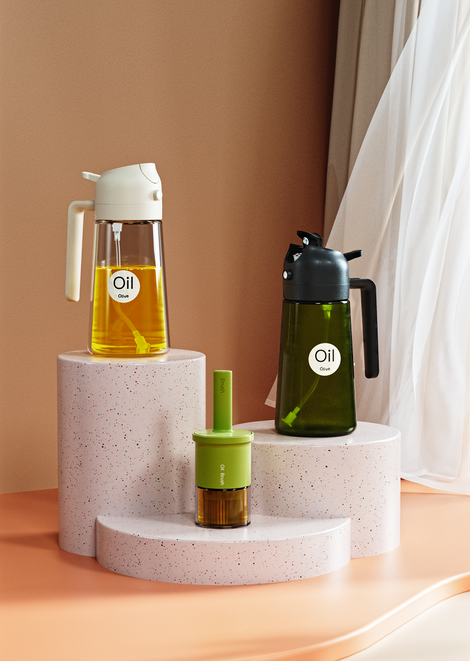
- Use dark-colored glass bottles: Dark green or amber glass blocks harmful light, preserving oil freshness and preventing chemical breakdown. This is especially critical for oil glass bottle for kitchen setups.
- Keep it cool: Store your sprayer away from stovetops, ovens, or sunny windowsills. Heat weakens plastic parts and can warp seals, causing leaks.
- Tighten seals after use: Always secure the lid to minimize air exposure. Oxygen speeds up oil degradation, which leaves sticky residues that clog nozzles.
Pro tip: Label your oil vinegar glass dispenser with dates to track freshness and avoid using expired oils, which leave gunk behind.
2. Why Does Choosing the Right Oil Matter for Your Sprayer?
Not all oils are sprayer-friendly. Thick oils like coconut or avocado oil can solidify at room temperature, leading to clogs. Meanwhile, oils with particulates (e.g., infused herbs) can block nozzles over time.
- Stick to lightweight oils: Olive oil, vegetable oil, or grapeseed oil flow smoothly and resist clogging.
- Avoid unfiltered oils: Sediment from raw oils builds up in tubes and nozzles. Opt for refined oils or strain homemade infusions before filling your oil container kitchen sprayer.
- Dilute thicker oils: Mix coconut oil with a lighter oil (e.g., 1:1 ratio) to maintain spray consistency.
A study of sprayer clogs found that 70% of issues stem from using incompatible oils. When in doubt, check your sprayer’s manual for viscosity guidelines.
3. Can Regular Cleaning Prevent 90% of Sprayer Breakdowns?
Residual oil hardens over time, creating stubborn blockages in nozzles and tubes. A quick rinse isn’t enough—deep cleaning is key.
- Daily rinse: After each use, flush the sprayer with warm water (under 122°F/50°C) to prevent oil buildup. Avoid harsh detergents, which can degrade plastic parts.
- Weekly deep clean: Disassemble the sprayer and soak components in a baking soda-vinegar solution to dissolve grease. Use a small brush (like the ones included with some oil vinegar glass dispensers) to scrub nozzles.
- Dry thoroughly: Moisture promotes mold growth. Air-dry all parts before reassembling.
Neglecting cleaning is the top reason sprayers fail within six months. One user reported their nozzle clogged permanently after skipping washes for just two weeks.
4. What’s the #1 Mistake That Ruins Oil Sprayer Nozzles?
Forcing a clogged nozzle to spray! Aggressive pumping or squeezing can crack fragile parts or misalign the spray mechanism.
- Unclog gently: If the nozzle sputters, soak it in warm soapy water and use a pin to clear debris. Never poke metal tools into the nozzle—they scratch surfaces and worsen clogs.
- Check for wear: Over time, nozzles wear out, causing uneven sprays or leaks. Replace them every 6–12 months, depending on usage.
- Avoid high-pressure sprays: Holding the nozzle too close to hot pans or grills can melt plastic components. Maintain a 6–8 inch distance.
Farmers using industrial sprayers found that replacing nozzles at 10% wear improved spray accuracy by 40%10. Apply the same principle to your kitchen tool!
5. How Can Upgrading Your Sprayer Design Save Money Long-Term?
Not all sprayers are created equal. Investing in a durable, well-designed model reduces maintenance headaches and extends usability.
- Opt for glass over plastic: Glass oil glass bottles for kitchen use resist stains, odors, and chemical leaching. They’re also easier to clean thoroughly.
- Look for built-in filters: Some sprayers include silicone tubes with sediment filters, preventing clogs from the start.
- Choose dual-function models: Sprayers with both mist and pour options (like a 2-in-1 oil vinegar glass dispenser) reduce how often you handle the bottle, minimizing wear.
One Amazon reviewer praised a glass sprayer’s filter for eliminating clogs despite daily use. Meanwhile, cheap plastic models often crack or warp within months.
Keep Your Oil Sprayer Thriving for Years to Come
Extending your oil sprayer’s lifespan isn’t rocket science—it’s about consistency. Store it properly, clean it regularly, and treat it like the precision tool it is. Whether you’re misting avocado oil in an air fryer or drizzling olive oil over salads, these tips ensure your oil container kitchen essential stays reliable. After all, a well-maintained sprayer isn’t just a kitchen gadget; it’s a small step toward healthier cooking and a greener planet. Now, go give that sprayer some TLC—it’s earned it!