


How to Roast Spring Vegetables in an Air Fryer: 200°C vs 180°C Tested
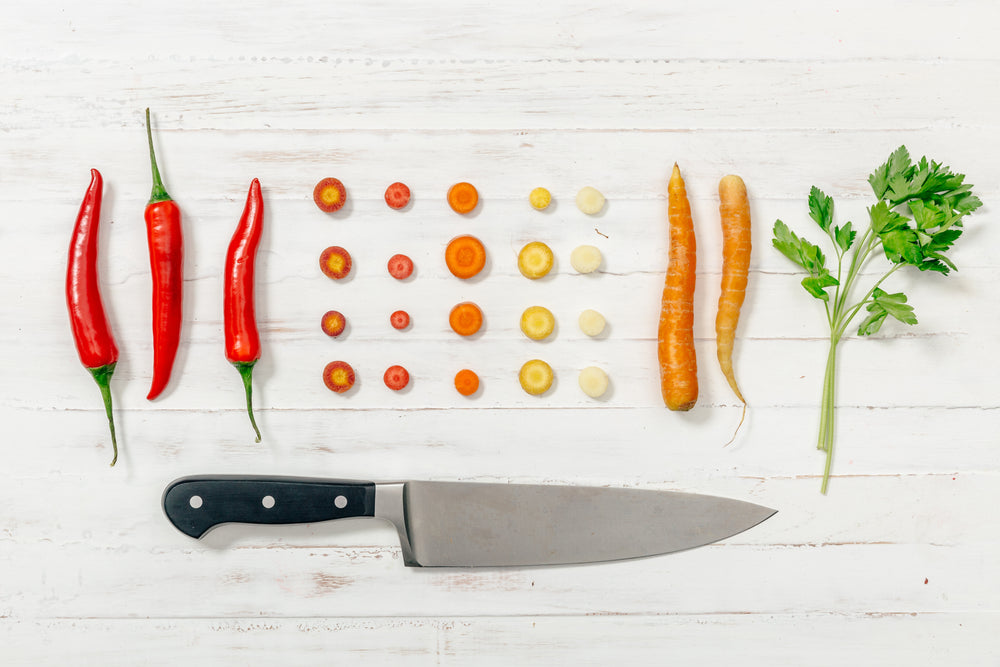
Spring vegetables are one of the easiest things to cook in an air fryer. They roast quickly, need only a small amount of oil, and make weeknight meals feel lighter and less messy. If you want tender centers, browned edges, and a cleaner kitchen routine, the biggest difference usually comes down to temperature, timing, and how evenly the vegetables are coated.
For this guide, I tested common spring vegetables at both 200°C and 180°C to see which setting works better for everyday home cooking. The short answer is that both temperatures are useful, but they do different jobs. If you know when to use each one, it becomes much easier to get crisp asparagus, nicely browned broccoli, and softer vegetables without burning the tips.

Table of Contents
- Why Spring Vegetables Work So Well in an Air Fryer
- 200°C vs 180°C: What Changed in Testing
- Spring Vegetable Timing Guide
- How to Roast Spring Vegetables Step by Step
- Common Mistakes vs the Right Way
- Tools and Habits That Make Cleanup Easier
- FAQ
- Final Summary
Why Spring Vegetables Work So Well in an Air Fryer
Spring vegetables usually have more moisture and a more delicate texture than dense winter vegetables. That is exactly why the air fryer helps. Fast circulating heat dries the surface quickly, which gives you browning without needing a heavy coating of oil or a hot oven for half an hour.
This works especially well for broccoli, asparagus, zucchini, green beans, and sliced peppers. They cook fast, fit into small-batch meals, and are easy to pair with chicken, salmon, tofu, or grains. For busy households, that means less waiting, less oil smoke, and fewer pans to wash after dinner.
Harvard's Nutrition Source recommends building meals around vegetables and using healthy oils such as olive oil for cooking. You can see that approach in their Healthy Eating Plate, which is a practical reminder that the goal is not zero fat, but smarter everyday cooking.
200°C vs 180°C: What Changed in Testing
After testing the same vegetables at both temperatures, the difference was easy to notice. At 200°C, vegetables browned faster and picked up more roasted edges. At 180°C, they cooked a little more gently and stayed slightly juicier, especially if the pieces were thin or tender.
When 200°C Works Better
Use 200°C when you want more color and a slightly crisp finish. This setting worked best for broccoli florets, halved Brussels sprouts, mushrooms, and thicker-cut zucchini. It is the better choice when you want vegetables to feel roasted rather than lightly steamed.
Broccoli at 200°C gave the best balance in my kitchen. The tops browned nicely in about 4 to 5 minutes, and the stems stayed tender without turning mushy. If you like charred bits on the edges, this is the temperature that gets you there faster.
When 180°C Works Better
Use 180°C for thinner or more delicate vegetables that can dry out too quickly. Asparagus, snap peas, sliced peppers, and spring onions all did better here. The gentler heat reduced scorching on the tips and gave a more even finish.
Asparagus was the clearest example. At 200°C, thin spears browned quickly but sometimes crossed into dry territory. At 180°C, the texture stayed more balanced, especially around the tips, and the cook time still stayed short at about 6 to 8 minutes.
Spring Vegetable Timing Guide
These timings are best used as a starting point, not a hard rule. Basket size, vegetable thickness, and batch size can change the result by a minute or two. Still, this guide is reliable enough for normal daily cooking.
- Broccoli florets: 4 to 5 minutes at 200°C
- Asparagus: 6 to 8 minutes at 180°C
- Zucchini half-moons: 6 to 8 minutes at 200°C
- Green beans: 7 to 9 minutes at 180°C or 200°C depending on thickness
- Sliced bell peppers: 6 to 7 minutes at 180°C
- Mushrooms: 7 to 8 minutes at 200°C
- Spring onions: 4 to 6 minutes at 180°C
Quick tip: if you are mixing different vegetables together, group ones with similar cook times. Broccoli and mushrooms work well together. Asparagus and spring onions also make sense as a pair. Mixing fast and slow vegetables in one batch is where a lot of uneven cooking starts.
How to Roast Spring Vegetables Step by Step
1. Dry the Vegetables Well
This step matters more than people think. If the surface is wet, the vegetables steam before they roast. A quick pat with a clean towel gives you better color and helps seasonings stick more evenly.
2. Use a Light, Even Layer of Oil
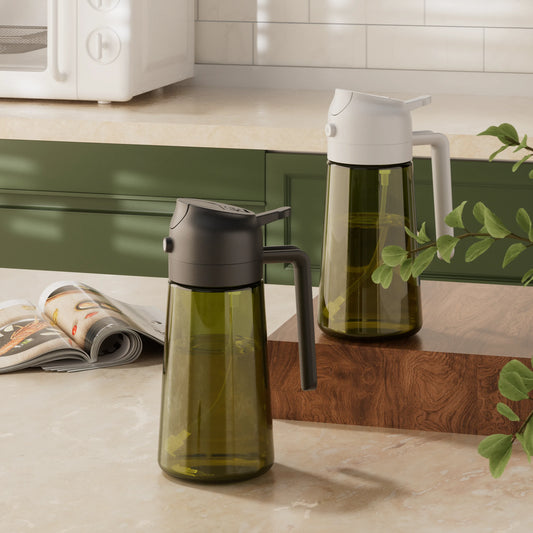
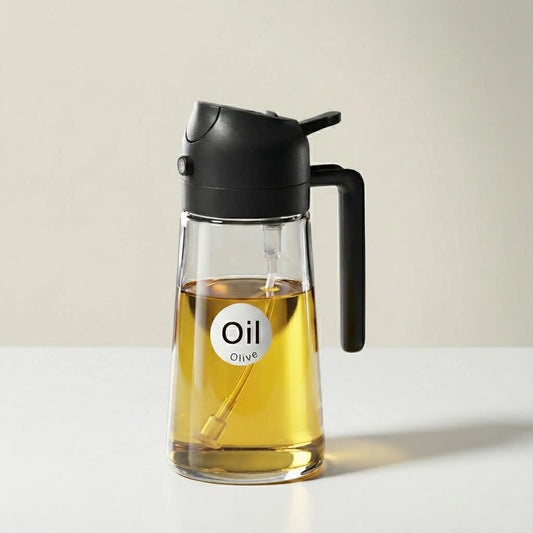
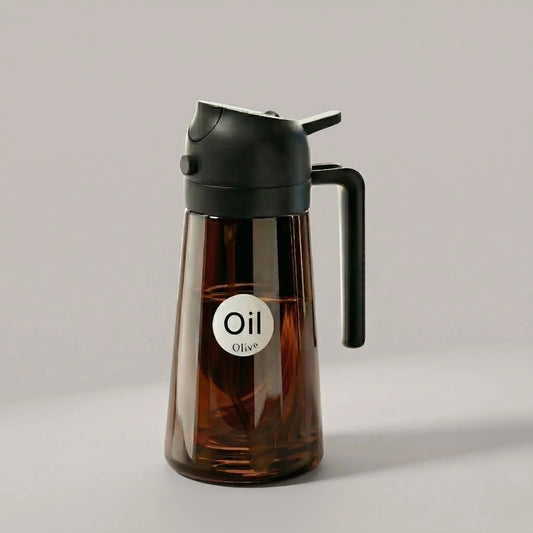
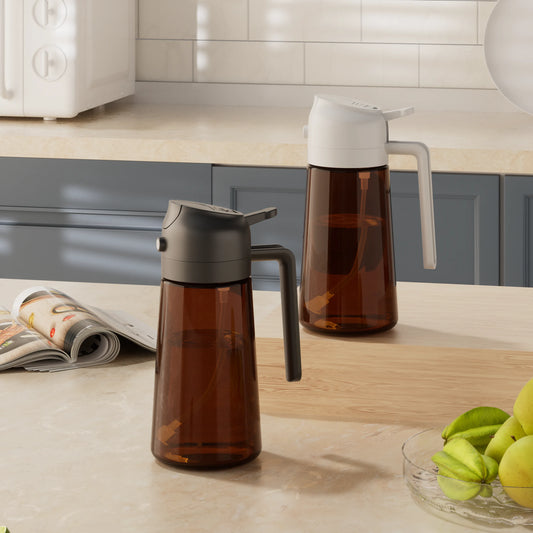
You do not need much oil for air fryer vegetables, but how you apply it makes a real difference. I usually use an oil dispenser for air fryer meals so I can coat broccoli or asparagus lightly instead of overpouring. It keeps portion control easier and helps the basket stay cleaner after cooking.
In practical terms, this is one of those small changes that improves daily cooking more than you expect. Once I stopped pouring straight from a regular bottle, I had fewer oily spots on vegetables, less residue under the basket, and a lot less wiping around the prep area. It is not flashy, but it saves time every week.
3. Season After Oil, Not Before
Oil first, then salt and dry seasonings. That order helps everything stick better and gives more even flavor. If you add seasoning to damp vegetables before oiling, it often clumps in a few places instead of coating the full batch.
4. Do Not Overcrowd the Basket
Vegetables need room for hot air to move around them. If the basket is packed, the texture becomes softer and less roasted. A single loose layer works best, even if that means cooking in two rounds.
5. Shake Once During Cooking
One shake or quick toss halfway through is usually enough. It helps expose fresh surfaces to heat and prevents one side from browning too much. With lighter vegetables like asparagus or peppers, a gentle turn is better than a rough shake.
Common Mistakes vs the Right Way
Mistake: Using Too Much Oil
More oil does not make vegetables roast better. It often leads to patchy browning and a heavier mouthfeel. The right move is a thin, even coating that supports browning without making cleanup harder.
Right Way: Use the Amount You Can Actually Control
This is where a bottle with better handling helps. A measured spray or small pour gives better coverage and keeps the result lighter. For people who cook often, that also makes refilling and daily use feel less annoying than dealing with a slippery, drippy bottle.
Mistake: Using One Temperature for Every Vegetable
Not all vegetables need the same heat. Thin asparagus and sliced peppers do not behave like broccoli or mushrooms. Using 200°C for everything often causes the delicate pieces to dry out before the thicker pieces are done.
Right Way: Match the Temperature to the Vegetable
Use 180°C for delicate vegetables and 200°C for denser ones or when you want deeper color. That simple adjustment makes spring cooking feel much more repeatable, especially if you are cooking small dinners after work and do not want to babysit the basket.
Mistake: Storing Oil in the Wrong Bottle for Daily Use
If you cook regularly with olive oil, storage and handling both matter. A bottle that feels awkward to refill or messy to use tends to make cooking feel less efficient. That friction adds up when you are trying to keep healthy habits simple.
Right Way: Choose a Bottle That Fits Both Storage and Daily Use
For olive oil that stays on the counter, a glass olive oil dispenser can fit better into an everyday cooking setup, especially if you want something that looks cleaner and feels easier to manage. One small habit that helps: refill before the bottle gets too low, since low oil levels can make daily pouring less consistent.
The American Heart Association notes that replacing solid fats with healthier liquid oils such as olive oil is a smarter everyday choice for heart health. Their guide to healthy cooking oils is a useful reference if you are trying to build lower-mess, lower-oil cooking habits without overcomplicating dinner.
Tools and Habits That Make Cleanup Easier
The air fryer already cuts down on oil splatter compared with pan roasting, but a few habits make the whole routine even easier. Dry vegetables well, season in a bowl instead of directly in the basket, and avoid using more oil than the food can actually hold. Those three changes reduce residue fast.
Useful Tools for Small Households
If you are building a practical setup, think in terms of workflow. A good air fryer, a small rack or grill accessory for better air movement, a mixing bowl, and a bottle that is easy to refill will do more for everyday cooking than a pile of extra gadgets. The goal is not a perfect kitchen. It is a routine you will actually repeat on a Tuesday night.
Cleaner Routines Make Healthy Habits Easier to Keep
That is the part people often overlook. When the basket cleans up quickly and the counter stays mostly dry, healthy cooking feels less like work. That alone can make you more likely to roast vegetables regularly instead of defaulting to something heavier or more expensive at the end of a long day.
A Realistic Combo That Works Well
For a simple spring dinner, I often pair broccoli at 200°C with asparagus at 180°C in separate quick batches while protein cooks alongside. The vegetables finish in under 15 minutes total, the kitchen stays calm, and there is no lingering oily smell. That kind of small routine improvement is why air fryer vegetables stay in regular rotation.
FAQ
Is 200°C or 180°C better for spring vegetables in an air fryer?
It depends on the vegetable. Use 200°C for denser vegetables or when you want more browning, and use 180°C for thinner, more delicate vegetables like asparagus or sliced peppers.
How long should broccoli and asparagus cook in an air fryer?
Broccoli usually works best at 200°C for 4 to 5 minutes. Asparagus is usually better at 180°C for 6 to 8 minutes, depending on thickness.
Do I need oil to roast vegetables in an air fryer?
A small amount helps with browning, seasoning, and texture. The key is using a light, even coating rather than too much oil in one spot.
Why are my air fryer vegetables soggy instead of roasted?
The most common reasons are too much moisture, overcrowding, or using too much oil. Dry the vegetables well, keep the basket loose, and cook in smaller batches for better results.
Final Summary
Roasting spring vegetables in an air fryer gets much easier once you match the temperature to the vegetable. In general, 200°C gives better browning for sturdier vegetables, while 180°C is better for thinner, more delicate ones. Broccoli at 4 to 5 minutes and asparagus at 6 to 8 minutes are two reliable starting points for everyday use.
The bigger advantage is not just speed. It is the cleaner routine, easier portion control, and lower-mess cooking that make vegetables more realistic on busy days. When your setup is easy to handle and repeat, healthier cooking starts to feel less like effort and more like a normal part of home life.